
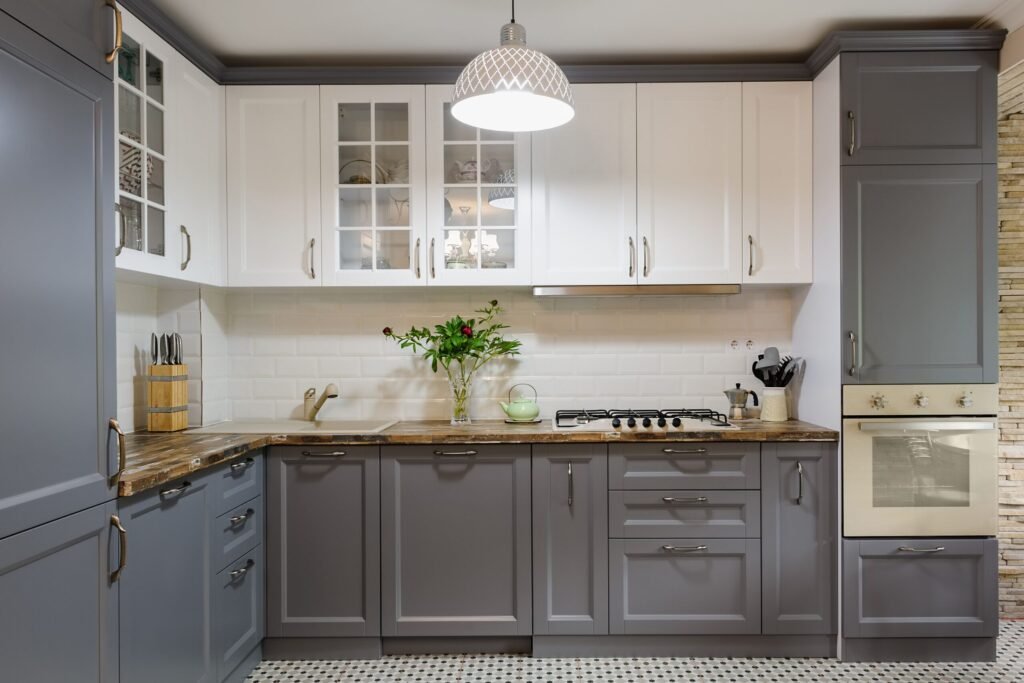
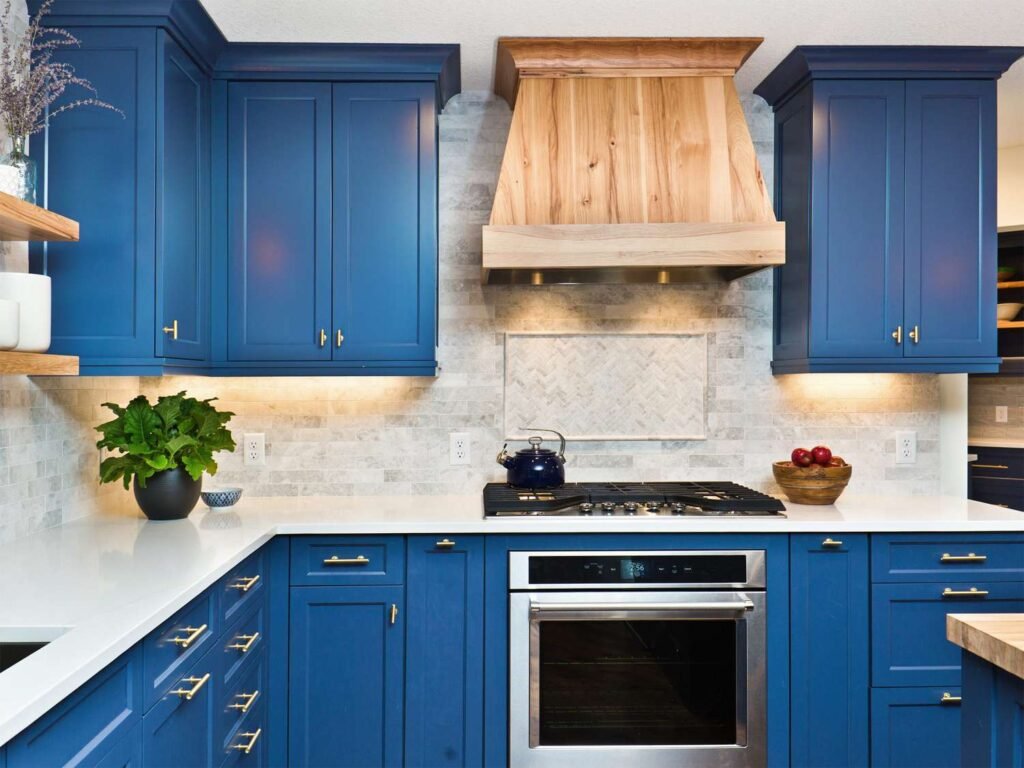
Looking for refreshing your cooking space without a complete renewal? Kitchen cabinets learning to learn to change your home’s heart is a budget -friendly way. With correct presentation and technology, even old cabinets can achieve a stunning, modern makeover. Whether you’re going for a smooth white finish, a bold navy, or soft sage green pair with stylish hardware, a fresh coat of paint can completely elevate your kitchen. This DIY project may take time, but it is worth the effort. Avoid normal mistakes and follow our expert tips to ensure a smooth, long -lasting result made professionally.
Table of Contents
How to Paint Kitchen Cabinets
1. Prep the Space Before You Paint

The key to a smooth, permanent finish while learning methods of painting kitchen cabinets is proper preparation. Start by cleaning your cabinets, removing everything from the shelves and countertops. To create space, shift movable furniture to another room. Cover countertops and floors with rosin paper, and use plastic sheets to seal backplash, tools, windows and doors to include dust and smoke. Don’t forget to tape the walls around the cabinets for clean lines. Finally, install a dedicated workpiece to paint the cabinet doors, drawers, and shelves – this step makes the entire process easier and natter.
2. Gather Your Supplies Before You Begin
Before diving into your DIY project, it is important to collect all the right materials to ensure an innocent result. If you are learning how to paint kitchen cabinets, the process starts with proper preparation. Cabinet is a screwdriver to remove doors and hardware. Use painter tape to save walls and countertops, and sandpaper (120- and 220-grits) on smooth surfaces. A degrecer helps eliminate Greece buildup, while drop clothes keep your location clean. Choose a quality primer for better paint adhesion, followed by a durable interior paint. End additional protection and a topcot for a polish, long lasting finish.
3. Remove Cabinet Doors Before Painting
Kitchen learn how to paint cabinets, an important step is removing the cabinet doors before you start. Although they may seem easy to leave in place, closing them ensures a cleaner, and ends. This allows you to paint all surfaces well, including edges and corners, and helps prevent unwanted drips or lines. A garage or spare room, like a spare room, takes the doors in a separate workpiece, also keeps your kitchen area clean and reduces the risk of harassing wet paint. This additional step sets a long way to achieve a smooth, professional looking result.
4. Clean All Cabinet Surfaces Thoroughly

The first step in learning ways to paint kitchen cabinets is proper cleaning. Use a digzer spray and a clean rip to wipe Greece, Grim, and cooking residues from all cabinet surfaces. This ensures that the paint follows smoothly and lasts longer. For stubborn buildups, switch to heavy-fee cleaner such as Tricodium phosphate (TSP), be sure to follow the available-safety instructions available at most hardware stores. After cleaning, rinse each surface well with water to remove any residue. Let the cabinets dry completely before going to sanding or priming for the best possible results.
5. Prime Before You Paint

An important step in learning ways to paint kitchen cabinets is proper priming. Start by laying a drop cloth to protect the floor and surfaces, and cover the nearby walls and backplash. Apply a stain-blocking, oil-based bonding primer using a foam roller or quality paintbrush. Following the manufacturer’s instructions, let it dry completely. If you notice visible brush stroke, gently sand for a smooth finish. Before being committed to a color, test it behind a cabinet door. This helps you to love shadow and that the paint follows well, gives you a clean, permanent finish.
6. Apply Paint for a Smooth, Lasting Finish

When learning to paint kitchen cabinets, applying many coats is important to achieve an innocent, long -lasting result. Start with a high quality interior emulsion paint for durability and a smooth finish. Use a foam roller on flat areas and a brush for corners and edges. Apply thin, even coats – thick layers can cause drip and uneven surfaces. Allow each coat to dry well (usually 4-6 hours), and light sand between the coat for a sophisticated, spontaneous form. Apply at least two to three coats, inspecting for the touch-up, as you go, to ensure that your cabinets look fresh, professional and completely transformed.
7. Let the Paint Cure Properly

An important step in learning how to paint kitchen cabinets is when to stop and dry things. After your hard work, it can be attractive to start the doors and hardware immediately – but the patience stops. Increasing this phase can cause smugs, scratch or peeled paint. For the best results, allow the paint to be treated for at least 7 days. This ensures a strong, durable finish that can withstand daily use. It is important to give your cabinets a smooth, professional form that lasts for the coming years.
8. Add a Protective Topcoat for Lasting Results

When learning to paint kitchen cabinets, do not leave the final stage to handle a protective topkot. This significant layer enhances durability, adds subtle glow, and makes cleaning easier. A polyurethane-based topkot is ideal for protecting your freshly painted surfaces, especially in areas with high-utilization. Apply thin, even coats using high quality brush or roller to avoid visible lines or drip. If desired, let each coat dry well according to the instructions before applying another layer. A second coat can promote both safety and glow, which can help your cabinets maintain your fresh, vibrant look for the coming years.
9. Reassemble Cabinets After Painting

After completing the painting process and allowing everything to dry well, the final stages are putting back everything back in learning ways to paint modular kitchen cabinets. Hardware- Start by re-starting screws, knobs, handles and tika. If you are upgraded to the new hardware, then check the alignment for a clean and polished look. Next, hang the cabinet doors carefully and slide the drawer back to your original positions. Take your time to ensure that all parts are safe and are working properly.
Wonder how to paint kitchen cabinets without stress or heavy price tag? This may look like a big job at first, but with the right approach, it is easy to think. Many home owners are surprised at how satisfactory and cost effective this change can be. Not only does it breathe new life in a tired kitchen, but it can also save you a significant amount compared to complete renewal. If you have ever dealt with this DIY project, you know that the awards are worth it – from the updated style to additional savings in your pocket.


